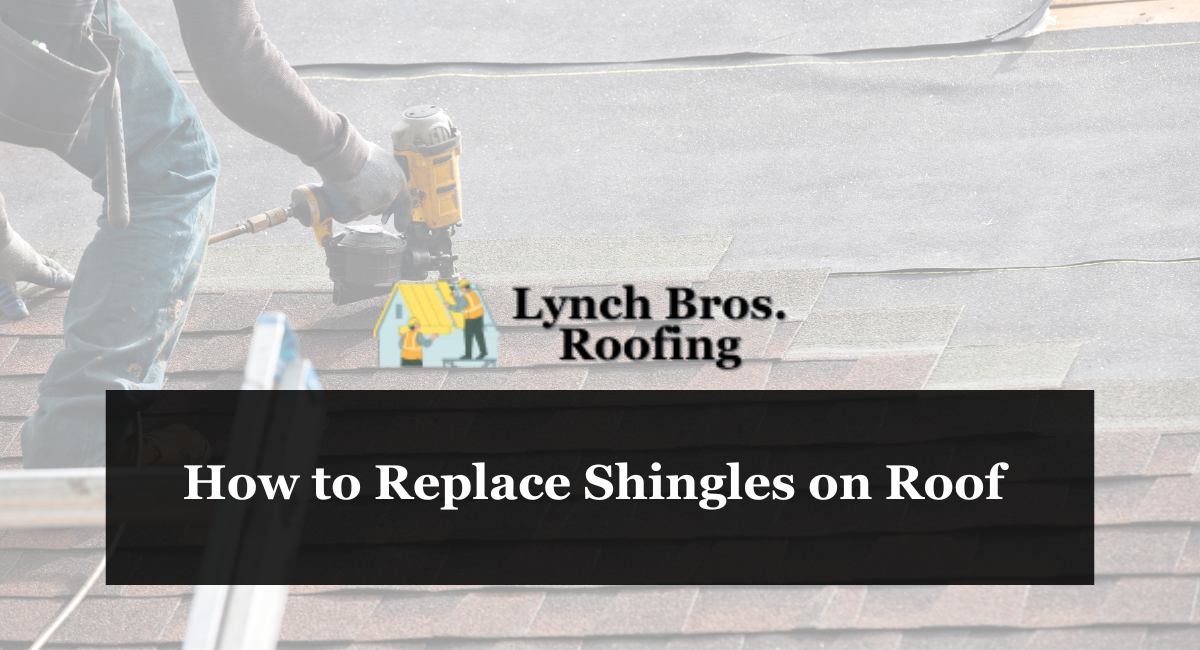
Worn-out shingles can significantly reduce the lifespan of a roof. To maintain the security of your property, it’s crucial to consistently assess and repair any broken shingles to ensure your home remains safe and dry.
You can learn how to correctly assess, remove, and replace broken shingles effectively.
Replacing Damaged Shingles
Step 1 Follow the appropriate safety measures.
Use the appropriate safety measures. Whenever you go up on the roof, it’s important to follow roof safety procedures. Wear safety glasses, strong gloves, and sturdy footwear suitable for walking on the roof.
It’s a good idea to install roof jacks for a stable platform and use harnesses for safety. Avoid working on the roof by yourself.
The way you get to the roof will vary according on the roof type and where the damage is located.
Always use a safe, strong ladder while climbing onto the roof, and have someone assist in securing it at the bottom.
When moving on the roof, make sure to walk at a steady pace and ensure your footing is stable before proceeding to the next step.
If you are only checking the damage and replacing a few damaged shingles, it may appear excessive to use roof jacks and harnesses.
However, depending on the intricacy and height of your roof, it could be the safest choice. Roof repairs should not be hurried.
Step 2 Evaluate the harm.
Evaluate the harm. Locate the affected section of shingles and assess the quantity of replacement shingles required as well as the scope of the damage beneath.
Examine the edges of the shingles around the area of the damage. Are they bent and lifted from the ceiling?
Inspect the affected region for harm to the moisture barrier or flashing, then examine the damaged area for indications of seepage.
If the shingles nearby are not effectively preventing moisture from entering, you will have to repair all the shingles in the region surrounding the damaged section.
Sometimes, it may be more beneficial to take off all the shingles from a roof that urgently needs repairs and re-roof the house instead. If the shingles in the vicinity of the damage are aged, fragile, and dry, it may not be worthwhile to bother reattaching them to the roof.
Broken or divided shingles can be fixed without taking them off, as long as they are still in good shape. You can find out more about securing the shingles in the next part.
Step 3 Take off shingles in mild weather.
Take off shingles in mild weather. Asphalt and asphalt sealer will become soft in warmer temperatures, making it moldable and more harder to remove.
It’s much simpler to take off shingles that have cooled down and become slightly more brittle than when they are pliable, therefore it’s best to remove them early in the morning, before the sun has heated them up much.
Dampen the tiles to lower their temperature before taking them off, in case you need to operate in hot conditions.
Moistening them with a small bit of water will allow them to tighten and stiffen up, making them much easier to remove, if necessary.
Step 4 Release the glue behind the tabs located two rows above the area of damage.
Release the glue behind the tabs located two rows above the area that needs fixing.
Replacing all the shingles on the roof is typically accomplished with a huge hayfork, or a rake-sized scraper designed for shingle removal. Because you’re only taking off several shingles, it’s generally more practical to use a smaller tool.
A pry bar, crowbar, or the claw of a hammer can effectively be used to go underneath and gently lift up shingles, separating the glue and exposing the nails of the shingles underneath.
A helpful guideline is to eliminate at least five tabs in the row directly above the damaged “3-tab” shingle. Lift up sufficient shingles to expose the nails of all the damaged shingles that need to be removed underneath.
The ends should be positioned approximately one foot to the side of the affected area. Put simply, you should ensure that you remove shingles in a circular area around the damaged part to ensure thorough removal.
Step 5 Loosen the visible nails.
Make the visible nails less tight. Insert your flat pry-bar beneath the shingles near the area that is damaged. Operate around the nail, lifting it up. Raise each nearby tab carefully to an angle of around 45 to 60 degrees.
Proceed at a leisurely pace, apply pressure steadily, and be careful not to cause any cracks or breaks.
If the neighboring shingles are in good condition, you can reconnect them after replacing the damaged shingles, which can help you save money and time.
Step 6 Keep loosening the glue and nails near the shingles that are damaged.
Keep working on removing the glue and nails near the shingles that need to be replaced. Gradually move closer to the harm.
Raise the tabs in the top row above the shingle that is damaged and remove the nails that are loose from that shingle using the pry-bar in the same way.
Step 7 Loosen and take off the damaged shingles.
Loosen and take off the damaged shingles. Release the glue beneath the tabs of the broken shingle, then remove them and throw them away.
If the shingles are significantly damaged, avoid attempting to save them. Simply take them off and put new shingles that match the style of the existing ones on the roof.
Keep taking away the damaged shingles until you have removed all the shingles that need to be replaced. It will be simpler to remove everything before you begin replacing them.
Changing Roof Shingles
Step 1 Acquire the required replacement supplies.
Acquire the required replacement materials. To change shingles, you will need new shingles to replace the ones you take off and the supplies needed to fasten them.
Many shingles that require replacing are three-tab asphalt shingles. If your roof has a different type of shingles, you will have to ensure that your new shingles are compatible with the existing ones. In order to do the work correctly, you will require:
New shingles for replacement. Purchase a larger quantity than necessary at the home improvement store.
You should be able to determine the number of damaged shingles that require replacement and purchase the appropriate amount. It’s beneficial to have substitutes readily available.
Roofing cement or glue. Some shingles have adhesive strips already attached, thus this step is not needed. If you select shingles without adhesive backing, you may have to buy extra glue to attach them to the roof before nailing them down. It’s a smart idea to get it to secure other loose shingles anyhow.
Nails for roofing. Many three-tab shingles come pre-cut with guide holes, which helps to simplify the installation procedure. To secure them, you will require roofing nails that are durable and around two to three inches in length.
Step 2 Place the new shingle.
Place the new shingle. Put a new shingle in the identical spot where you took off the old one. If the shingles have an adhesive strip on the back, peel off the cover and press them into position, then use nails to fasten them.
Many shingles come with pre-cut holes for nails, typically three holes per shingle. Observe the instructions provided with the shingles you buy, or refer to the existing shingles on the roof for guidance.
Step 3 Seal again under the edges of all three shingles.
Reattach beneath the borders of all three shingles. Raise each tab slightly on the shingles as you put them in place, then put a 1″ (2.5 cm) diameter patch of shingle cement under each tab.
Push the tabs firmly into the cement to lock the shingle in place. Keep putting shingles in place and attaching them with adhesive as needed, until you have replaced all the damaged shingles in the row.
Once you have completed repairing the damaged area, you can begin moving back up the roof, repositioning the loose shingles, as long as they are in good condition, and using glue to fasten them back onto the roof.
Step 4 Make sure to fasten any additional loose shingles while you’re working on it.
Make sure to fasten any additional loose shingles while you’re working on it. While you’re working up high, it’s a good idea to watch for additional locations that seem like they can cause problems later on.
Watch for curled or worn shingles that could let water leak in underneath. With your glue, carefully raise the tabs and fasten them again.
Shingles are harmed when water seeps in underneath and begins to decay from below.
If you replace damaged or worn-out shingles regularly, you’ll extend their lifespan significantly. Periodic maintenance can significantly prolong the lifespan of a roof.
Step 5 Repair damaged or split shingles rather than replacing them.
Repair damaged or split shingles rather than replacing them. If shingles get cracked or split due to falling branches or other damage, think about using glue to fix them rather than taking them off entirely.
Fill the crack generously with adhesive and then attach the pieces together to fix it. Keep it in position for a few seconds until it closes securely.
Shingles must be removed when they become brittle, curved, and hard to reattach. If the shingle is falling apart while you are working on it, it could indicate that the shingle, many of the shingles in that section, and maybe even the entire roof could need to be replaced.
Conclusion
In conclusion, replacing shingles on a roof is a manageable task with the right tools, materials, and knowledge.
By following proper safety protocols, assessing the extent of damage, and carefully removing and installing shingles, homeowners can effectively maintain the integrity of their roofs and prolong their lifespan.
Regular inspections and prompt repairs are key to preventing further damage and ensuring the longevity of the roof.